Once you understand the basics of Cronetic, you'll want to jump right in and get to work with your new CRM. That's great! To make everything go as smoothly as possible, we recommend setting things up in the order below.
Updates Required
⇒ Dispatch Contact
⇒ Company Address
⇒ Order Terms
⇒ Dispatch Terms
⇒ Payment Gateway
1. Configure your Company Info
Things you are going to need to set up before you go live are your companies info. Company name, contact info, terms, and conditions, carrier contracts etc. This info is required for all the forms, emails, and invoices that use this information.
Adding Customer Terms and Carrier Contracts
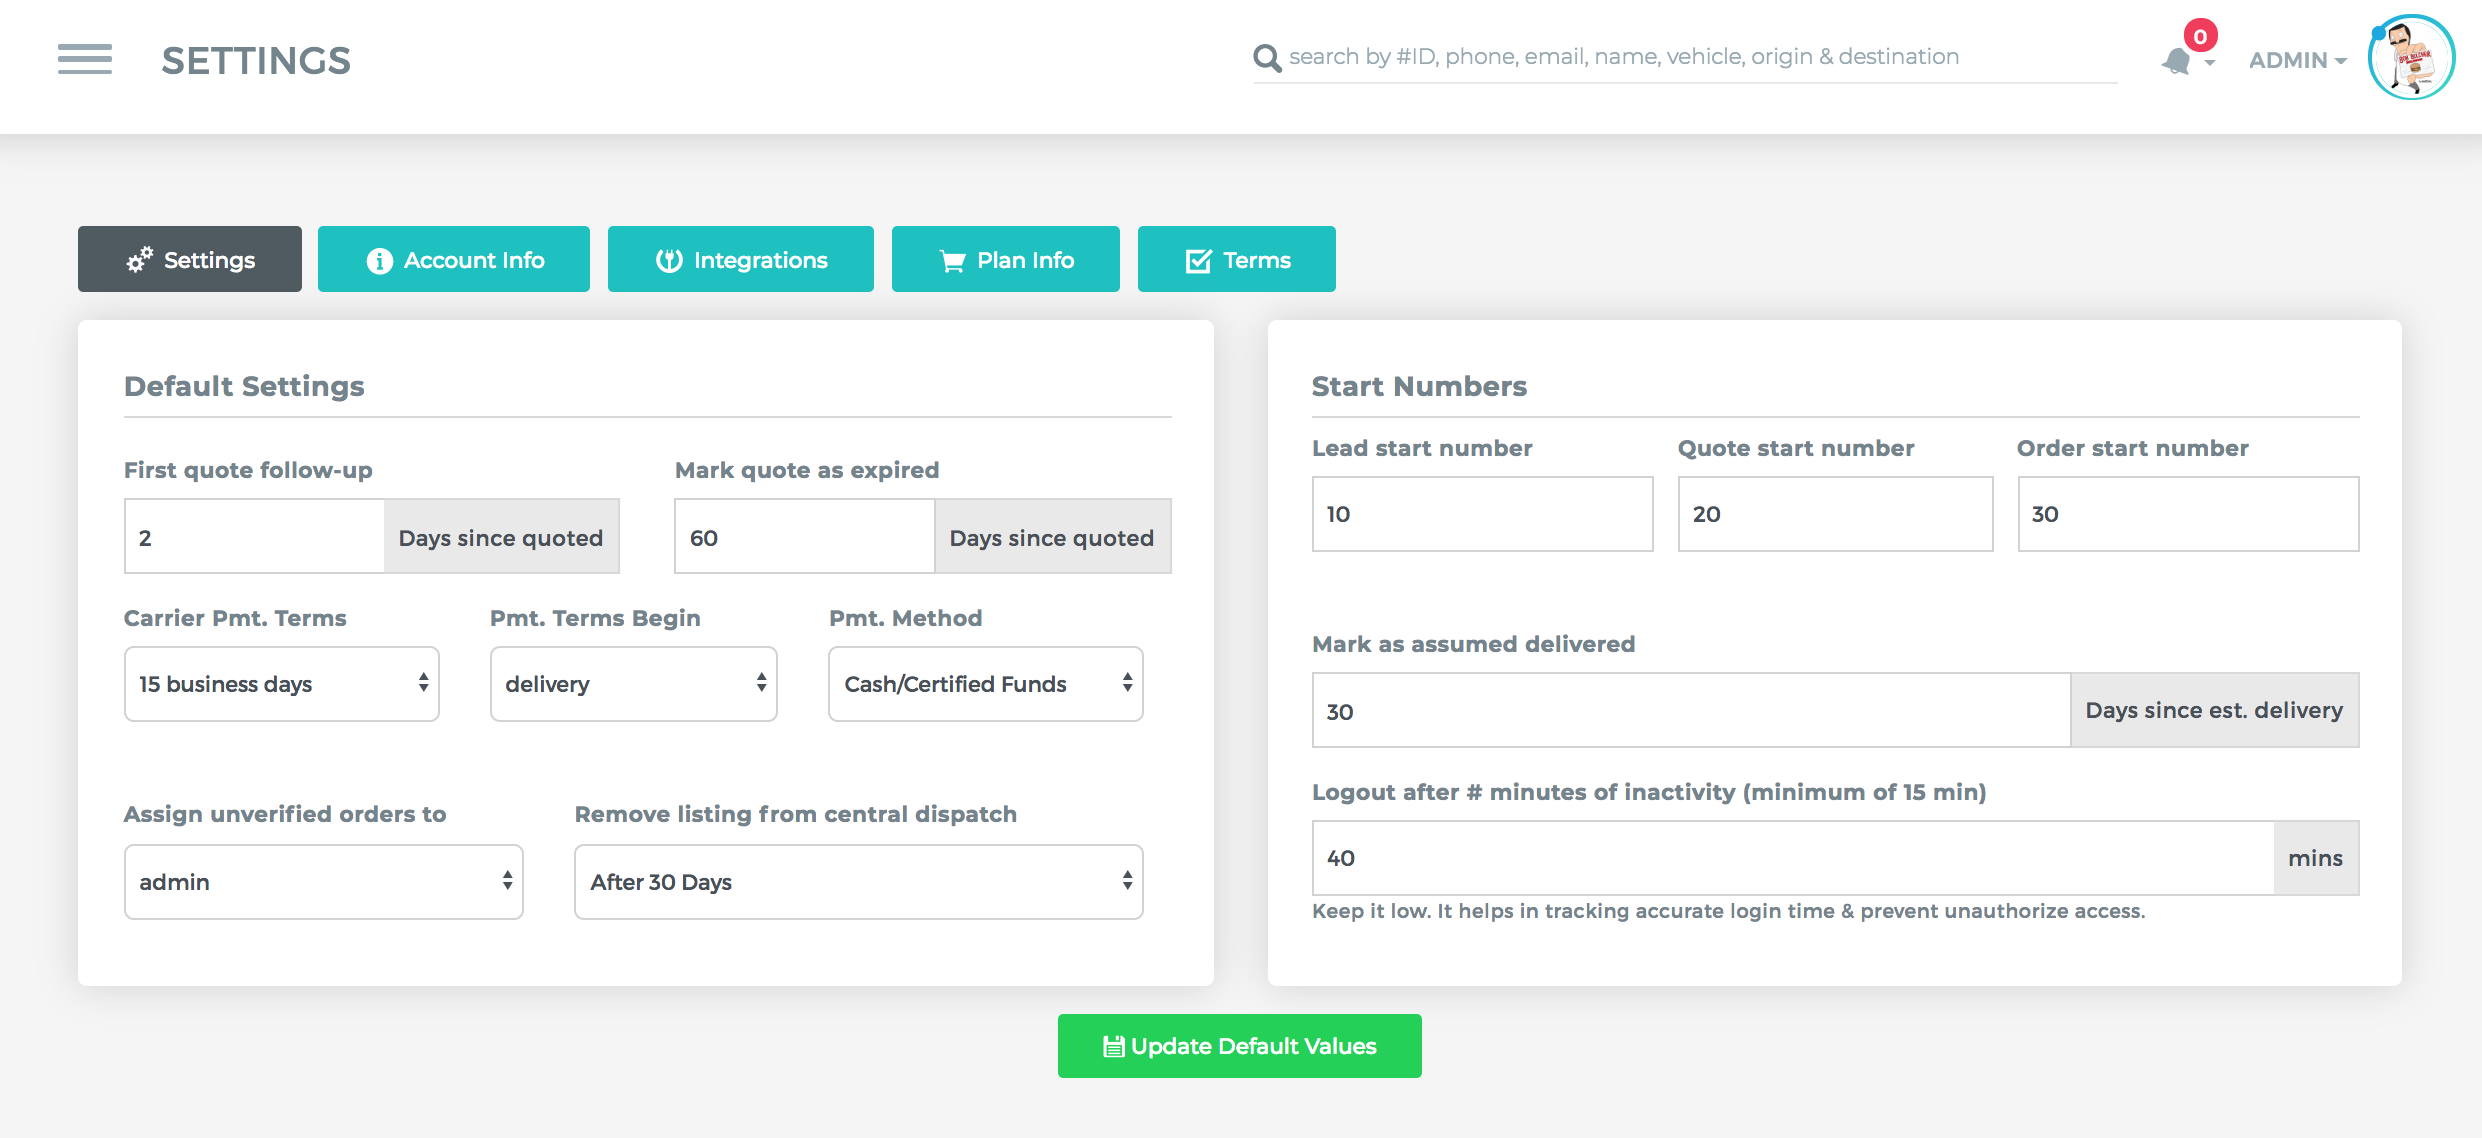
2. Configure your Company Settings
Update your company's default settings such as billing terms login time expiration.
3. Start importing
Here's the fun part - importing all your data. Whether you're moving your data from spreadsheets or another CRM, you won't want to leave anything out.
We recommend adding your users before importing, so if you have records that need to be assigned to them, use bulk editing or bulk updating to assign them later.
4. Connect integrations
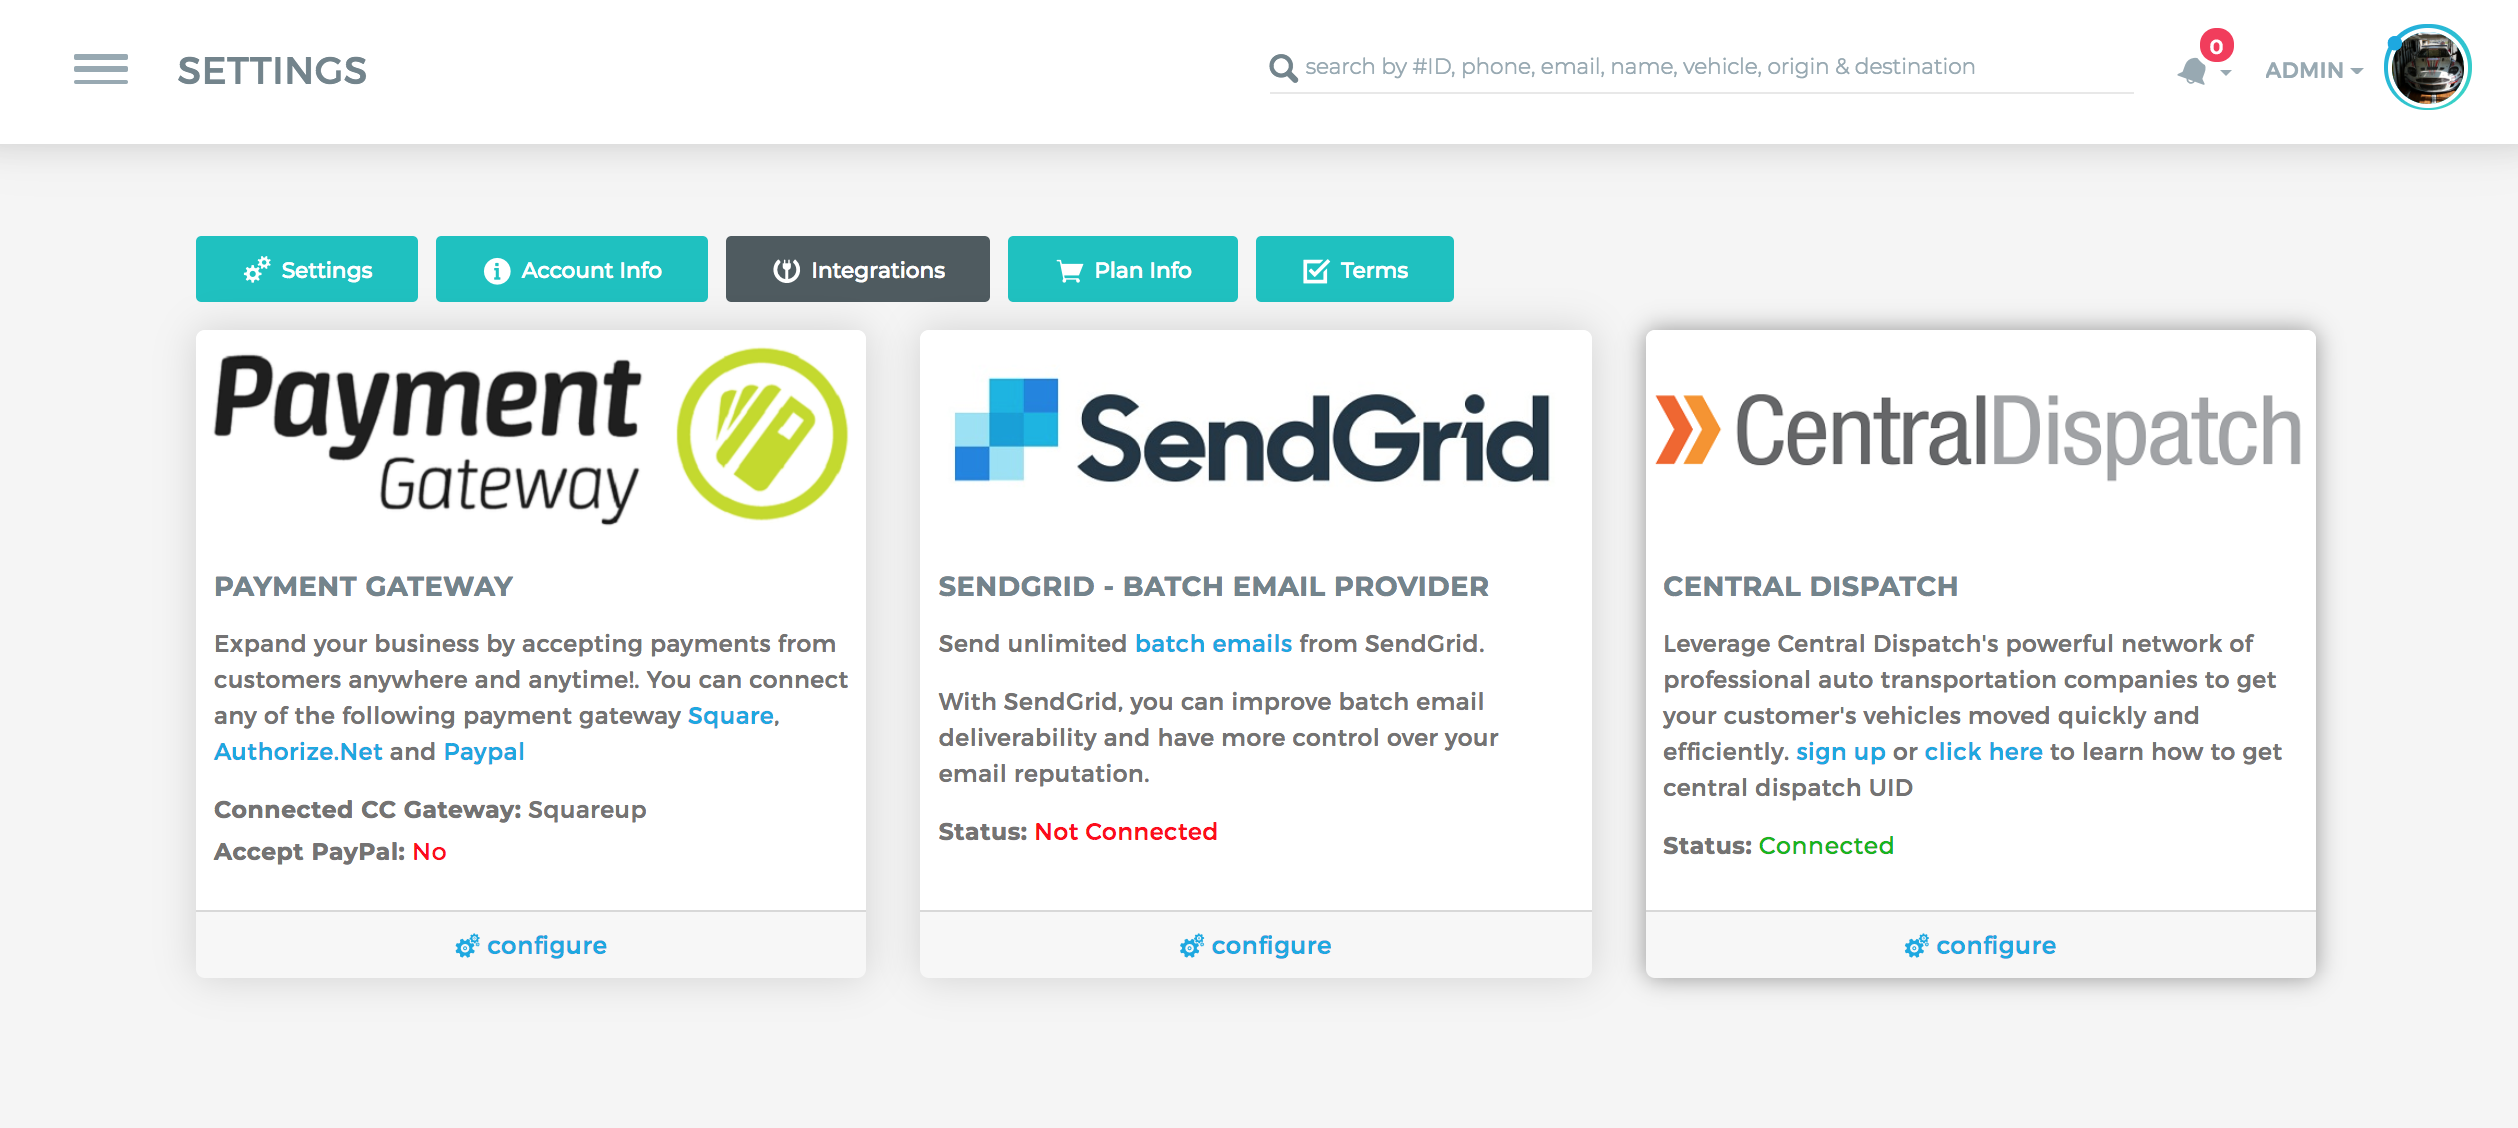
You may already be using online apps for managing your invoices or sending marketing emails. Connect those accounts to Cronetic and you can save time and always have all your customers' information at hand. We have integrations for dozens of different programs - check them out!
5. Add your users
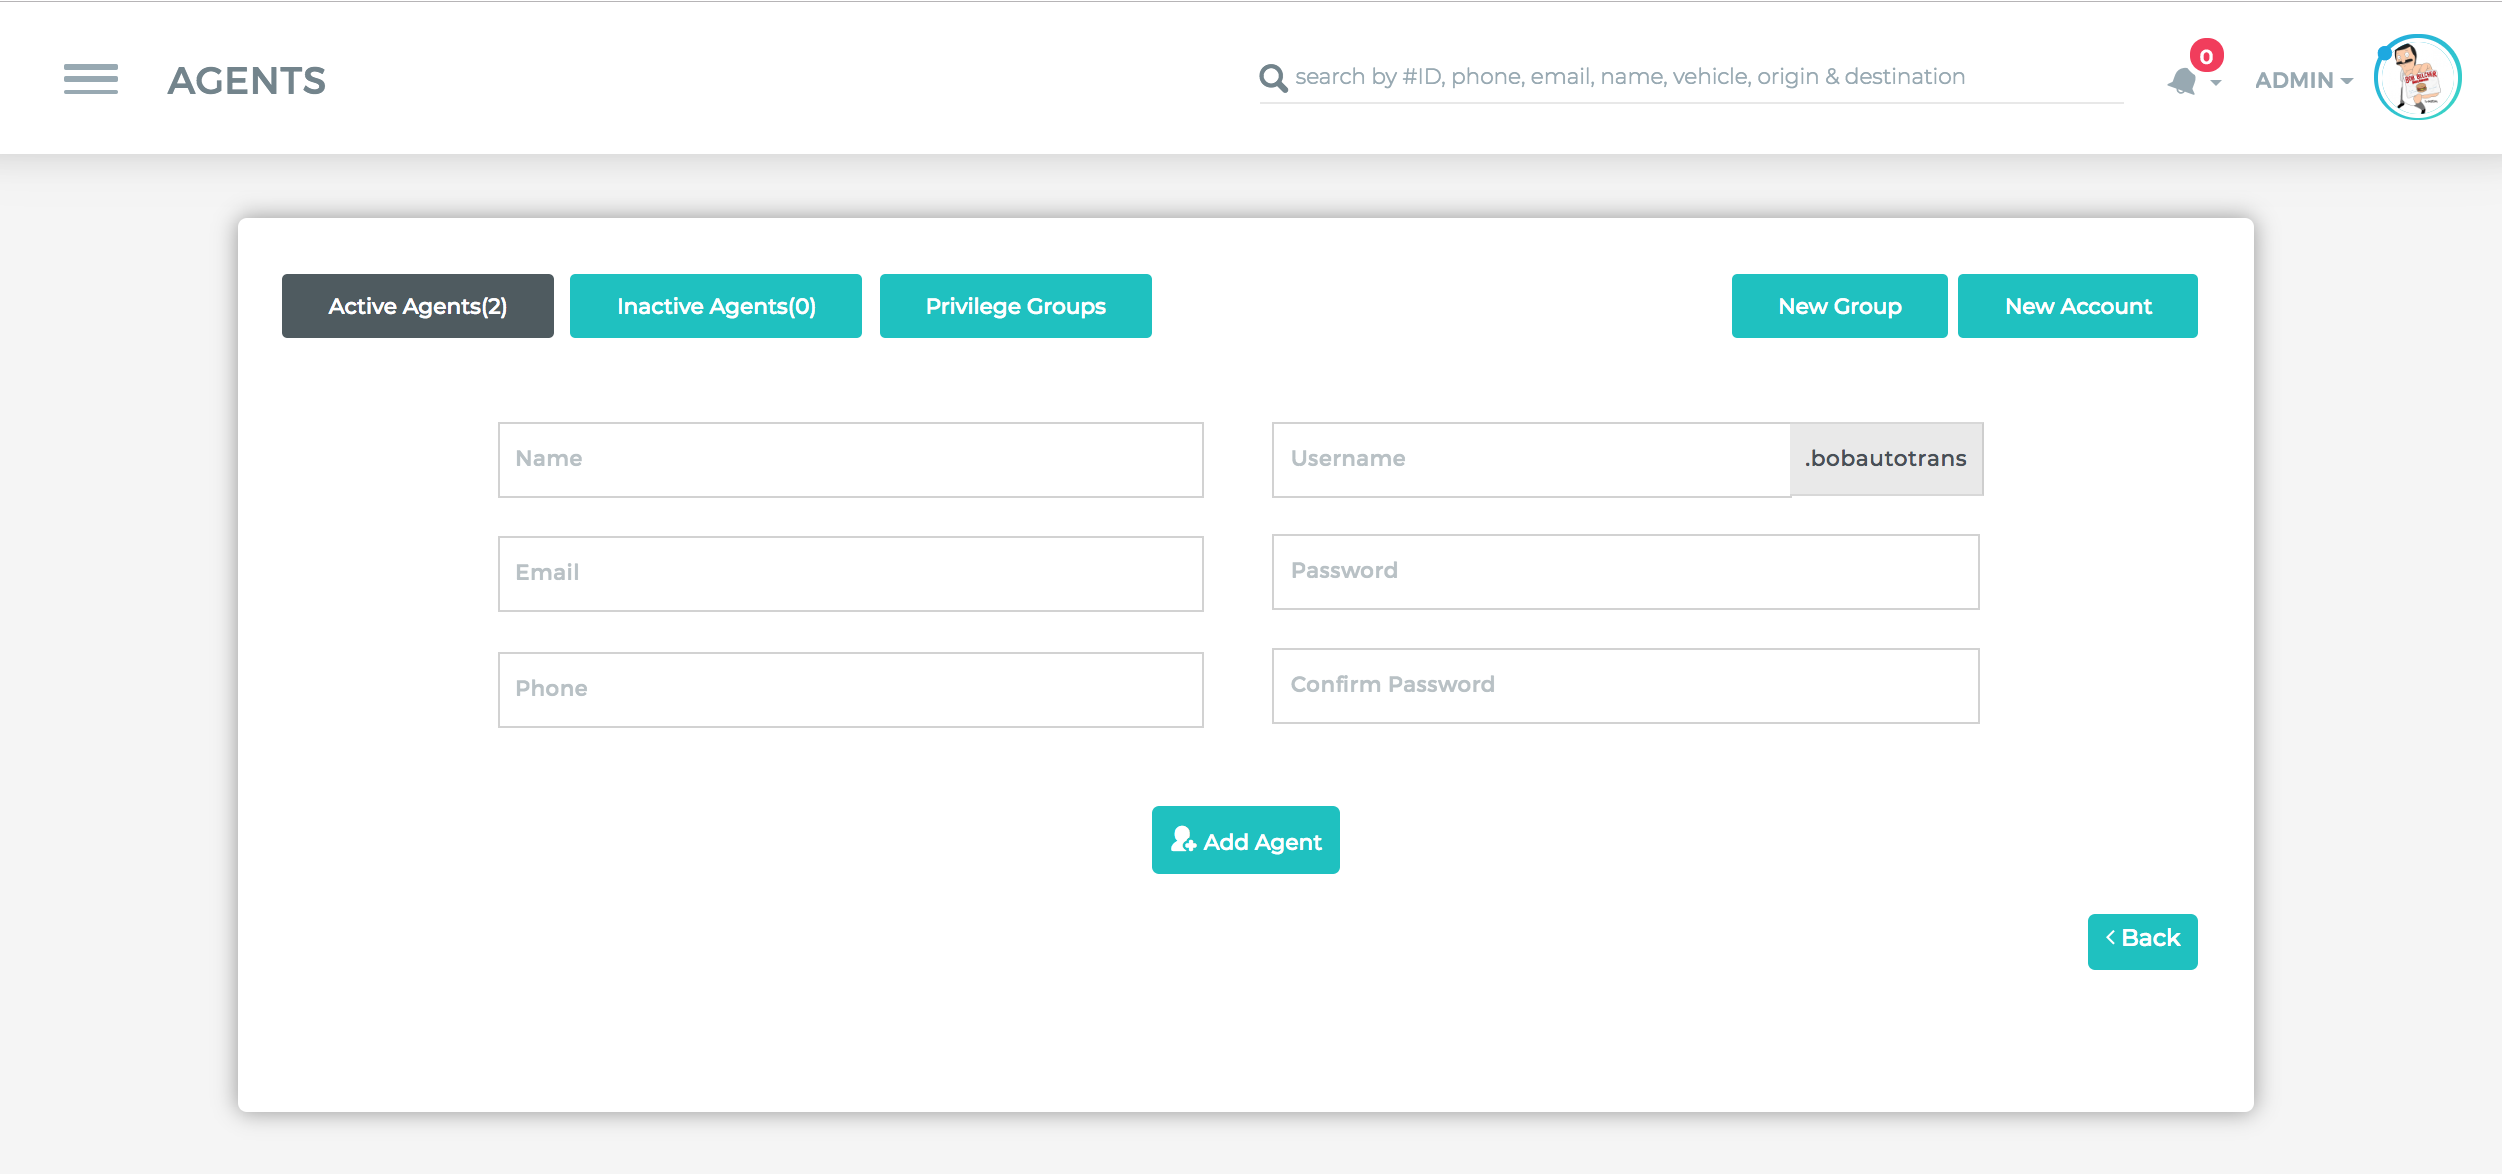
Now that you've got your account configured, it's time to start adding your team. You can add them earlier if you like, but adding them later may help prevent errors.
Make sure you have at least two administrators on your account. Having multiple admins is necessary in case one gets locked out or leaves the company. Just don't give all of your user's admin privileges!
Comments
0 comments
Please sign in to leave a comment.